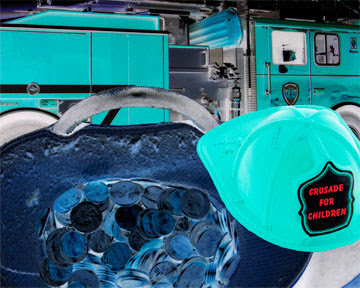
 For my final project, I chose to tell the story of the Crusade for Children. All three images have a curves effect on them that made almost everything a shade of blue. I did this to symbolize the colors of the Crusade this year. Every year the Crusade has a different color theme; this year was blue, dark green, and tan. In the first image, "Collect the Money," I chose to put a boot full of money, a fire truck, and a fire hat to tell this part of the story. They show that the firemen collect money every year for the Crusade.
For the second image, "Wait to go on Air," I chose to do kind of a split-look to show what goes on in WHAS 11 and what goes on outside before each fire department goes on air. On the left side, there fire departments getting on the huge elevator to go up on stage; while on the right side, the firemen driving the trucks are waiting to drive down the street on the air. I used the boots at the bottom to kind of tie the two scenes together, and show that they are happening at the same time.
 In the last image, "On the Air: Show me the Money," I also have two scenes happening at the same time. The fire trucks outside drive down the street and go right in front of WHAS 11's studio to be on air; while the scene at the bottom is of the same fire department standing on stage while on the air. The empty boots at the bottom represent that the money was given from the fire departments to the Crusade. I chose to do this story because my family is really big into the Crusade, and we work it every year.


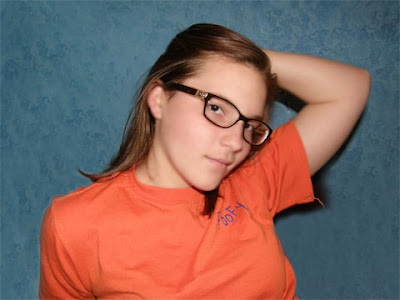 The first image, "Emily-posing" was used to show the softening technique and to how to hide blemishes. First, I made a duplicate layer. Using the original layer, I gaussian blurred it to 10 pixels. Then, using the duplicate layer I changed the opacity to 94% so that I could soften the image. To get the softening look, I used the eraser tool to erase all the skin; this made the skin look blurry. Next, I flattened the image so that all of the layers were combined into one. Then, I used the healing tool to get rid of any blemishes on the skin. Finally, I cloned the blue print of the background to make the image look more simple.
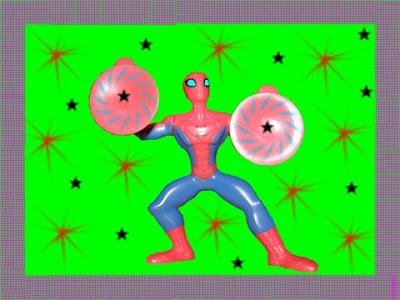 The second image, "Spider man," was used to show how to paint on an image. First, I made a new layer. Using the new layer only, I painted different things on the image. I used a basic brush tool and painted the background in a lime green color. Next, I used an assorted brush tool to make the design on the two circle parts of "Spider man." Then, I used a faux finish brush tool to make the border on the image. I then used two of the assorted brush tools to make the random prints of stars on the image. Finally, I colored in the eyes of the "Spider man" with an ice blue.